Inserting an IV
An IV may only be inserted by a qualified and competent doctor or nurse. It is a reserved act that is not done by everyone on a daily basis. But it is important to ensure that you, as a healthcare professional, are competent in this at all times. The two most common infusions are:
- Subcutaneous infusion
- Peripheral infusion
In addition, there is also the central infusion, also called the central line. This infusion is placed under the collarbone in the neck or groin. Only a specialist is allowed to insert this IV.
A subcutaneous infusion is an infusion in which the fluid is inserted into the subcutaneous connective tissue. With a peripheral infusion, also known as an intravenous infusion, the fluid is introduced into the blood.
Want to know more about how to insert an IV and what to look out for? Read the tips below! Want to practice too? Take the 3D simulation course from CareUp:
Peripheral infusion
An IV in the forearm or back of the hand is called a peripheral infusion. If someone is difficult to prick, the elbow is sometimes chosen because the blood vessel is larger here.
Fluid or medication can be administered through the peripheral drip, which enters the blood directly. Sometimes anesthesia, blood transfusion or chemotherapy is also given through an IV.
Insertion of peripheral infusion
Where the IV is inserted depends on several factors. If an IV has to be left in place for a long time, the hand is often chosen instead of the elbow. In addition, you should also look at where the blood vessels run. If a blood vessel is deep in the elbow, it can be difficult to puncture an IV there.
Subcutaneous infusion
In a subcutaneous drip, medication and/or fluid is administered into the subcutaneous connective tissue through a subcutaneous cannula or needle. From the subcutaneous connective tissue, it is absorbed into the blood and thus further distributed throughout the body. A well-known drug that is administered via a subcutaneous infusion is morphine.
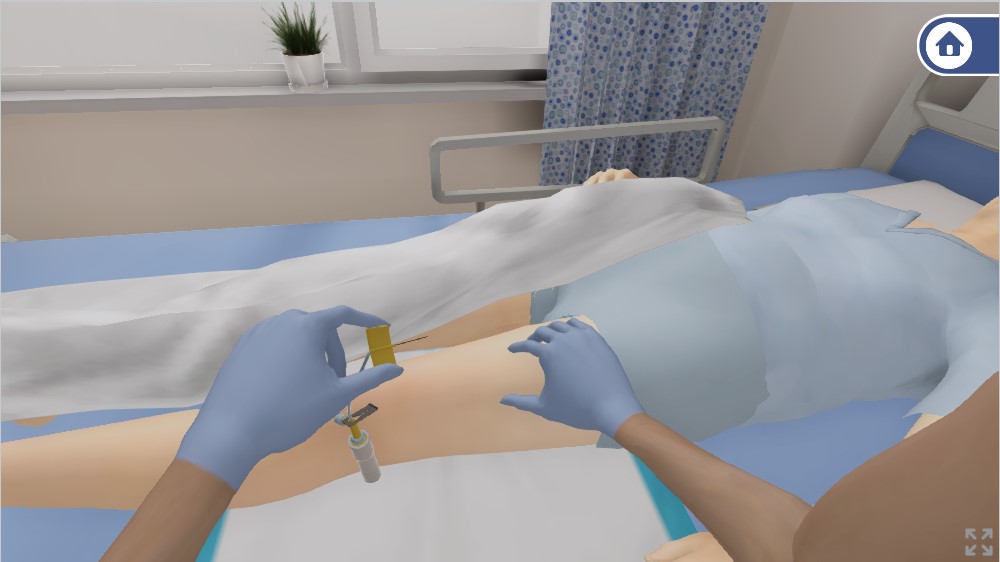
Insertion of subcutaneous infusion
With a subcutaneous infusion, the subcutaneous infusion cannula or needle is often placed in the subcutaneous connective tissue of the thigh. The most common place is the front or side. Alternatively, you can also opt for the belly, but make sure that you are at least 2 cm away from the navel. Or for the upper arm (the front, side or back).
Subcutaneous IV insertion
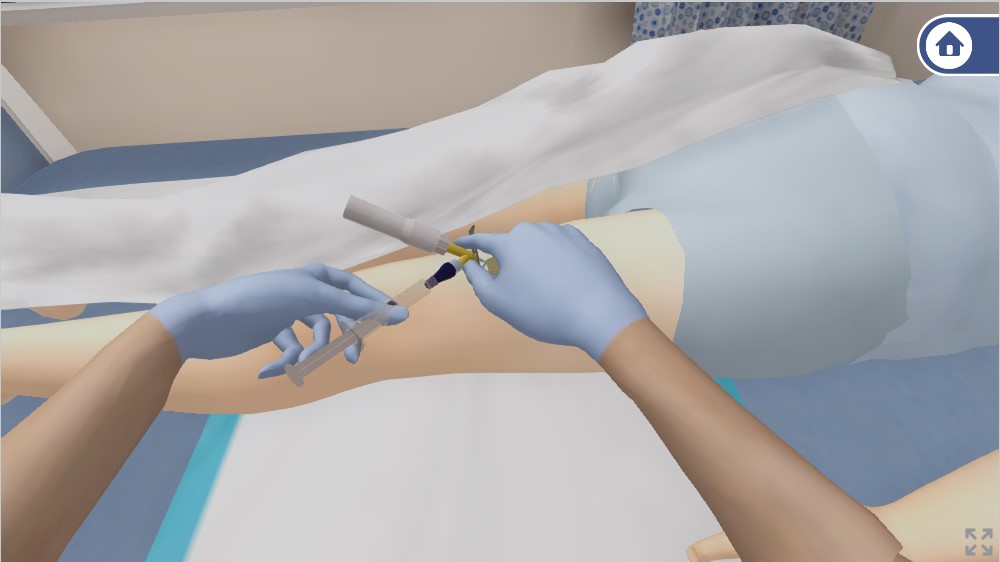
The insertion of a subcutaneous infusion cannula is a reserved procedure that may only be performed by a competent and competent doctor or nurse. Vilans Kick has drawn up a protocol for this action. Broadly speaking, the steps you need to take look like this:
- Find a suitable place to prick and disinfect the skin.
- Insert the cannula or needle into the subcutaneous connective tissue at an angle of 30° to 45°.
- There are then two options for the method of administration, depending on whether a plastic cannula or a wing needle is used.
- Butterfly needle: bleed the butterfly needle with an extension tube for insertion with the medicine to be administered.
Plastic cannula: this does not need to be vented before use.
- After administering the medication, flush with rinsing fluid so that the client receives all medication.
Practice the whole action yourself? This is possible with CareUp’s 3D simulation course. Now practice how to insert a Saf-T-Intima subcutaneous IV cannula so that you are competent in this reserved act!
Difference between subcutaneous and peripheral infusion
The biggest difference between a subcutaneous infusion and a peripheral infusion is the location where the fluid or medication is administered. With a subcutaneous infusion, this is in the subcutaneous connective tissue and with the peripheral infusion, this is directly into the bloodstream.
Another difference is the location where the IV is applied. With a peripheral infusion, this is usually in the arm or hand. A subcutaneous infusion is often done in the thigh. Although sometimes the abdomen or upper arm is also chosen, for example.
An advantage of a subcutaneous drip is that the cannula or needle can remain in place for several days. This is especially nice for the client, because he/she does not have to be pricked as often.
How does an infusion work
An IV provides fluid in a blood vessel or in the subcutaneous connective tissue. The infusion fluid is in an infusion bag. From here, the fluid runs through an IV tube through the IV cannula into the vein or subcutaneous connective tissue. Medication and blood (only via a peripheral infusion) can also be administered to a client via an IV.
What do you need for an IV injection?
First, it is important to always take the time to insert an IV. It is annoying for both yourself and the client if you work in a hurry. Secondly, good preparation is important. You need the following materials to puncture an IV:
- Disinfectant: for cleaning your hands covering the client’s skin.
- Absorbent mat or pad: to prevent the surface from getting dirty.
- Tourniquet: for pinching the blood vessel before pricking.
- Gauze: for cleaning the puncture area.
- Transparent infusion plaster: for taping the infusion cannula after insertion.
- Hypoallergenic plaster: to attach the infusion tube to the skin.
- Infusion cannula: a cannula with a hollow needle inside. The blood flows into the cannula through the hollow needle. After the blood vessel has been properly punctured, the hollow needle is withdrawn.
- Infusion stand: for hanging the infusion bag.
- Infusion pump: to allow the infusion fluid to run at the correct speed.
- Infusion fluid: dissolved in it with any necessary medication.
- Infusion tube: to allow the infusion fluid to drain from the bag to the infusion cannula.
Would you like to practice how to insert an IV and when you need which materials? Practice practice with CareUp’s 3D simulation course infusion injections. You can practice this reserved act as many times as you want. Do you have the handle on the action? Then take the test and get accreditation points! Necessary for your qualification and by passing the test you can also demonstrate your competence!
Tips for IV injections
Usually the insertion of an IV goes without problems, but sometimes the insertion of an IV can be painful for the client. If necessary, you can therefore apply anesthetic ointment to the skin in advance. In addition, there are four factors that you should take into account when inserting an IV:
- Ask the client to remove rings, bracelets, and watch ahead of time. These can cause congestion.
- Do not push too long, as this will cause an unpleasant feeling in the arm.
- Do not put the tourniquet too tight, the wrist should remain noticeable.
- If the area where you want to insert the IV needle is very hairy, remove the excessive hair growth. Do this with scissors or clippers, as a razor blade can cause small wounds that can become infected.
Complications of IV injections
The most likely complications arise when a peripheral IV is inserted. But complications can also arise when inserting a subcutaneous drip.
Complications peripheral IV injections
Complications can arise when an IV is inserted, such as an infection via the IV cannula. Then a bacterium or virus enters the bloodstream or in the tissue around the puncture area. You can prevent this by working hygienically.
Another complication that can arise is phlebitis. This is an inflammation of the vein. This can be caused by irritation of the needle or the administered fluid.
The infusion fluid can also run next to the blood vessel, under the skin. This happens when the IV cannula is no longer properly positioned in the blood vessel. If this happens, you should immediately stop the drip and assess the client’s complaints. If the infusion contains medication, consult a doctor anyway!
Complications of subcutaneous IV insertion
It is important to check the location of the infusion daily for any complications. The most well-known complications of inserting a subcutaneous drip are redness of the skin, pain, edema, or hard patches in the skin. The cause of this can be inflammation or an incorrectly placed IV cannula. The infusion cannula may also be kinked off or too high a concentration may have been administered (rare).
Often, removing and reinserting the IV cannula is sufficient in these cases. Do you suspect that the cause of a complication is too high a concentration of medication? Always consult a doctor.
Want to know more about placing a subcutaneous infusion cannula? Take the 3D simulation course from CareUp. This way you practice both the theory and the practice of this action. Convinced of your competence? Then take the test and get accreditation points right away!
Calculate infusion
Setting up an IV is not that easy. You need to know exactly what the throughput of an infusion is, so that the client receives the right amount. An IV that runs too fast or too slow can have harmful consequences for the client. Do you know how to calculate the throughput of an infusion?
With a drop-controlled infusion, an electrical device counts the number of drops that leave the infusion per minute. The device automatically sets the flow rate. But you can also set this speed manually. You then have to count how many drops per minute run through the IV and you then have to convert this to mL. The following applies:
- For liquid (no blood): 1 mL = 20 drops
- For blood: 1 mL = 18 drops
With a volume-controlled infusion, you have to set the number of mL per hour. Always round down. You divide the total number of mL of infusion to be administered by the number of hours it is to be spread over. This is the speed in mL per hour.
A calculation example for a drop-controlled drip
In five hours, 250 mL of glucose solution 5% must be administered. You must first convert this to the total number of drops.
250 mL = 250 x 20 drops = 5000 drops
So 5000 drops must be administered in 5 hours. That means 1000 drops per hour. You have to calculate this into minutes and so you have to divide this number by 60 (after all, there are 60 minutes in 1 hour). You then end up with 16.67 drops per minute.
As indicated, you have to round down and you end up with 16 drops per minute.
A calculation example for a volume-controlled infusion
Suppose that 2000 mL of infusion has to be administered in 24 hours. To calculate the infusion per hour, you have to divide 2000 mL by 24 hours. You then end up with 83.33 mL/hour. As indicated earlier, you have to round down. So you have to set 83 mL per hour.
Related courses
Curious about what CareUp can do for you?
We are happy to talk to you to see what CareUp can do for you or your healthcare institution/school.